Getting started with a Ghost site in 2022

To get started using Ghost we first need to have access to an instance of it. In this post we are going to have a look to the steps required to install Ghost locally on our machine.
I'm using a Mac so the instructions will be for MacOS, but you can find the specific instructions for Linux or Windows on the Ghost getting started page.
Installation of the prerequisites
Ghost is build using Node.js, so the first thing we need is a Node.js installation. You can install it directly on your machine but I highly suggest using Homebrew, a package manager for installing open source software (and not only that) on MacOS and to use NVM to manage the Node.js installations. So lets start by installing Homebrew.
Homebrew

To install Homebrew you just have to open your terminal application and paste the command you find in the homepage of Homebrew.
I prefer using iTerm2 instead of MacOS Terminal, but you can use your preferred terminal application.
❯ /bin/bash -c "$(curl -fsSL https://raw.githubusercontent.com/Homebrew/install/HEAD/install.sh)"Once the installation is complete, you can start using the brew command to manage the software on your machine.
To check if everything is fine in your installation run:
❯ brew doctorHave a look to the command output and check if other commands are required to fix the installation, for example installing XCode command line tools, otherwise you should get a confirmation that everything is fine and you can start using Homebrew to install new packages.
Installing NVM and Node.js
 nvm-sh
To install a version of Node.js locally, I suggest using NVM (that stands for Node Version Manager) that is a tool that allows you to have multiple versions of node installed and switch from one to the other with a simple command.
To install NVM we can now use our fresh installation of Homebrew with the command:
❯ brew install nvmafter brew does all its magic and installs the tool locally, we can run the following command to list the possible versions of Node to use.
❯ nvm list
        v8.17.0
->     v14.17.5
         system
default -> lts/fermium (-> N/A)
iojs -> N/A (default)
unstable -> N/A (default)
node -> stable (-> v14.17.5) (default)
stable -> 14.17 (-> v14.17.5) (default)
lts/* -> lts/gallium (-> N/A)
lts/argon -> v4.9.1 (-> N/A)
lts/boron -> v6.17.1 (-> N/A)
lts/carbon -> v8.17.0
lts/dubnium -> v10.24.1 (-> N/A)
lts/erbium -> v12.22.8 (-> N/A)
lts/fermium -> v14.18.2 (-> N/A)
lts/gallium -> v16.13.1 (-> N/A)In my case I have two releases managed by NVM itself (v8.17.0 and v14.17.5) and another one directly installed by MacOS. The arrow points to the version currently in use, to change the release in use we can run the following command:
❯ nvm use v14.17.5or
❯ nvm use lts/fermiumBelow the list of installed releases is the list of available releases that can be installed with codenames related to a specific version. The releases marked as LTS are the ones suggested because are the Long Term Support releases, or the ones that will get updates for longer period of time, so they are safer to use in production.
The release recommanded by Ghost is the v14 release, so looking to the output of the nvm list command we can find this as the stable or as the lts/fermium release. Lets choose the latter and install it with the following command:
❯ nvm install lts/fermiumTo complete the installation of the prerequisites, we also need the Node.js Package Manager, that is required to install every node.js application dependencies.
We can install it with the following command:
❯ brew install npmOk, now that we have all the required tools we can get started with the Ghost installation.
Installing Ghost
After the installation of NVM and Node.js we can go on and install the Ghost Command line tools (ghost-cli) with the following command
❯ npm install ghost-cli@latestand then we can finally install our local development version of Ghost
❯ mkdir ghost
❯ cd ghost
❯ ghost install local
Here is the installation steps in a fancy asciinema movie version

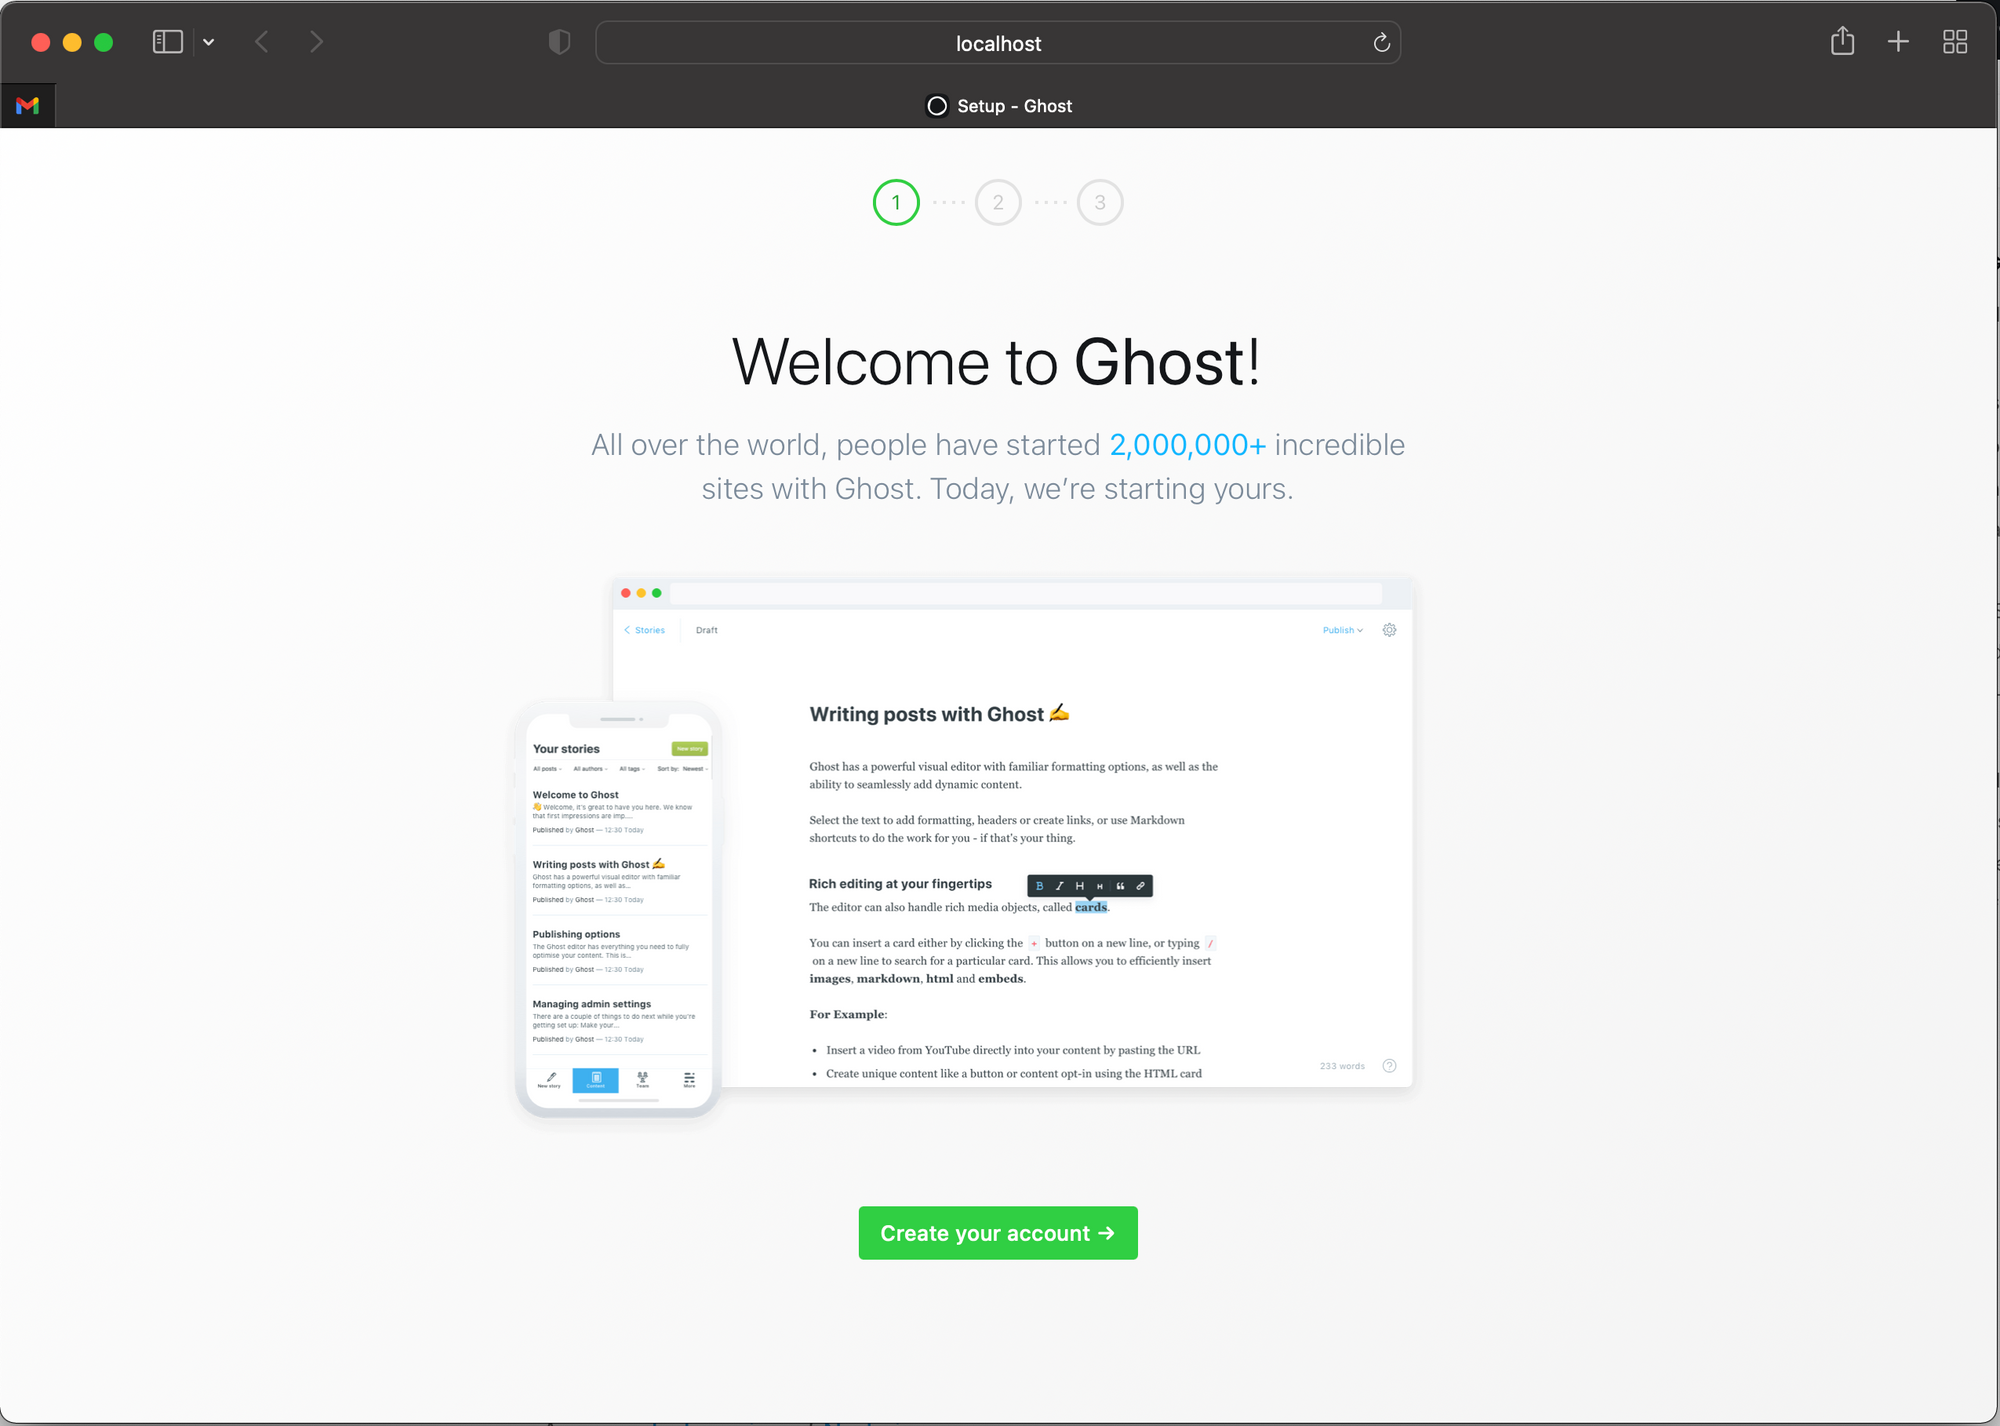
After completing these steps you can point your browser to the URL that you find at the end of the installation procedure and start playing with your new Ghost installation.
Note: The steps shown in this tutorial install a local development instance of Ghost backed by a SQlite database, if you need a real production installation follow the procedure on the Ghost Getting Started page and install it with a MySQL or MariaDB database and configure the environment settings acconding to your local system.